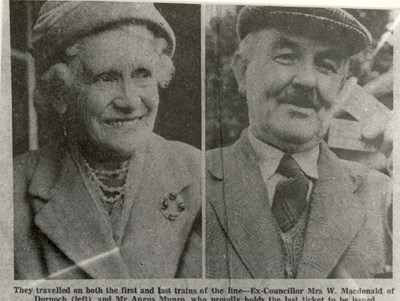
 Pic 83: Travellers on Dornoch railway
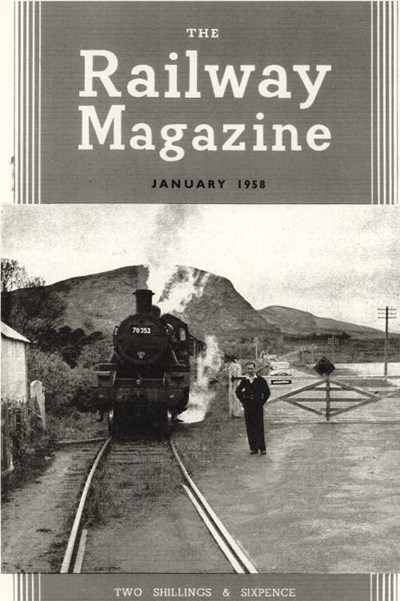 Pic 84: Cover of 'The Railway Magazine' with Cambusavie Crossing photograph
 Pic 85: Title page of The Last Trains (5) North of Scotland
 Pic 86: Page from The Last Trains (5) North of Scotland
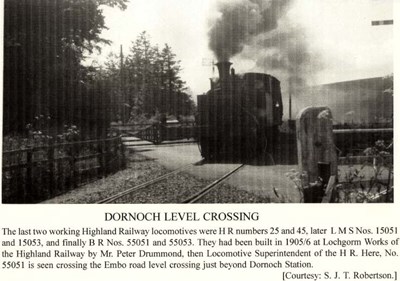 Pic 87: Dornoch level crossing
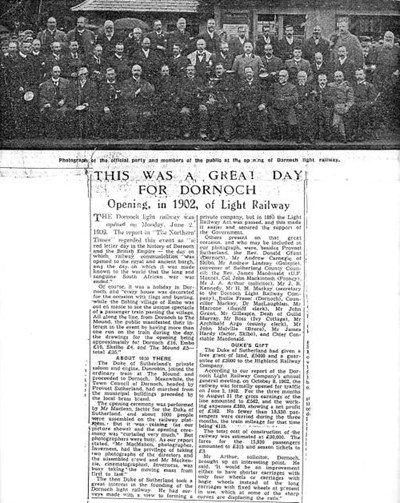
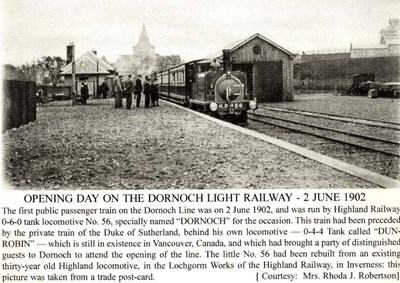 Pic 88: Opening day on the Dornoch Light Railway
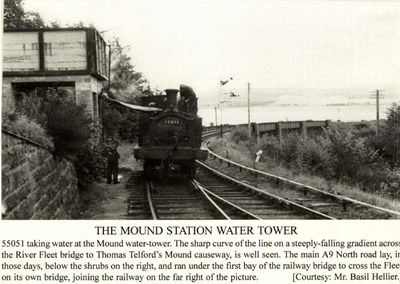 Pic 89: Mound station water tower
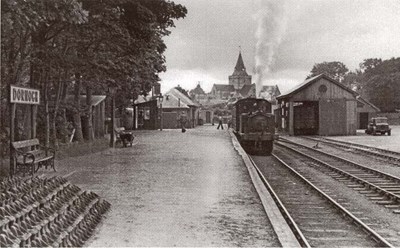
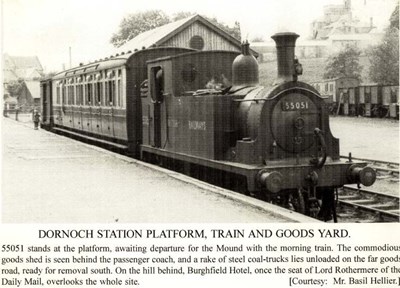 Pic 90: Dornoch Station Platform, Train and Goods Yard
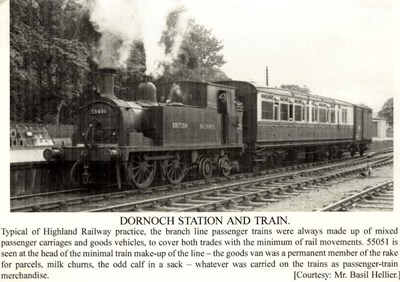 Pic 91: Dornoch Station and Train
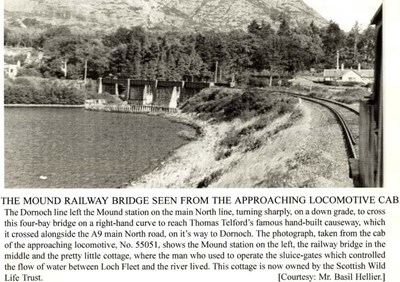 Pic 92: Mound railway bridge
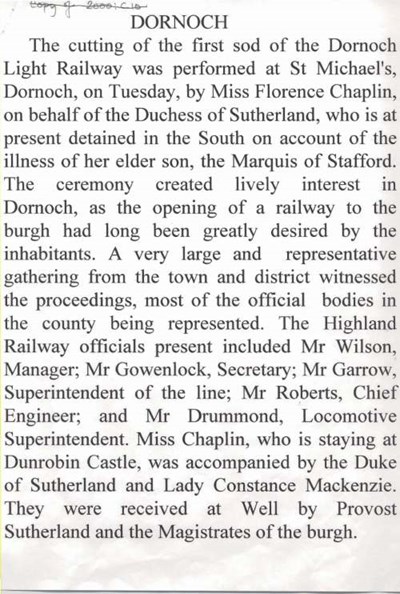
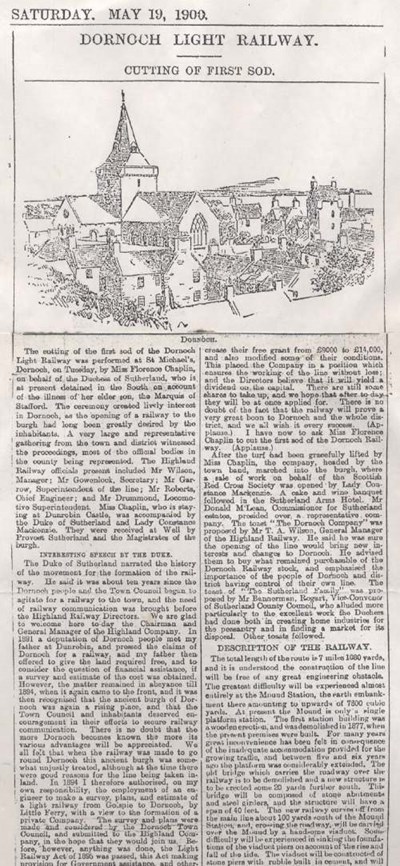 Pic 93: Cutting of first sod, Dornoch Light Railway
 Pic 94: Cutting of first sod, Dornoch Light Railway
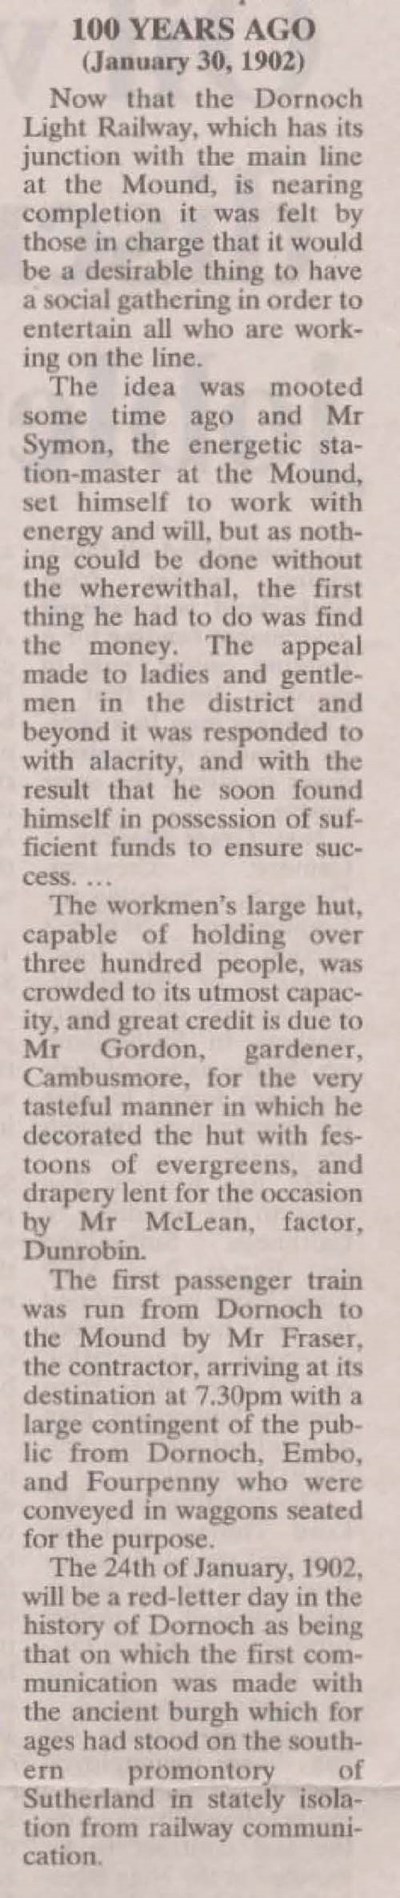
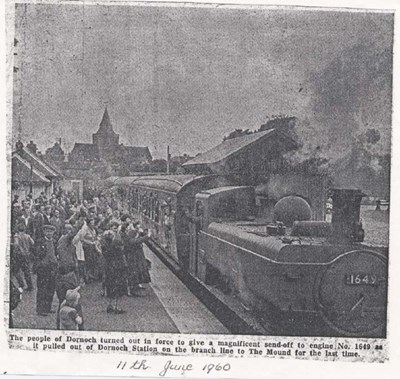
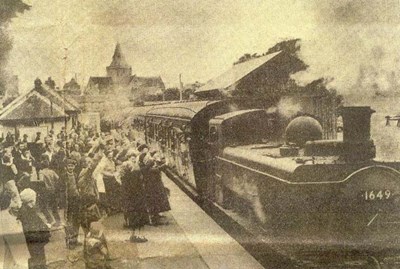
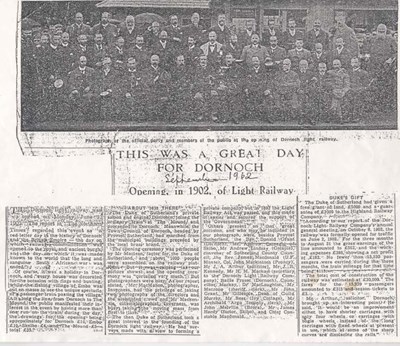 Pic 95: Opening of Dornoch Light Railway
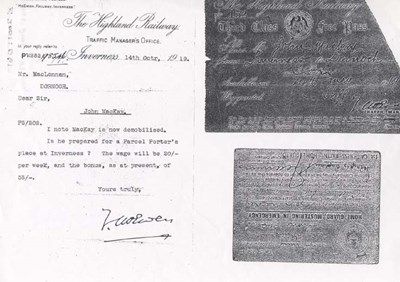
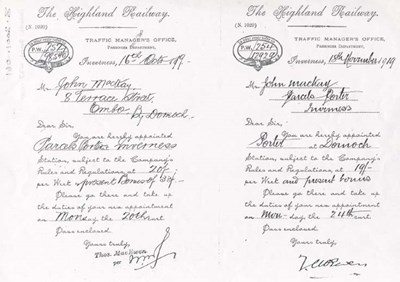 Pic 96: Letters of appointment as porter
 Pic 97: Assorted railway documents
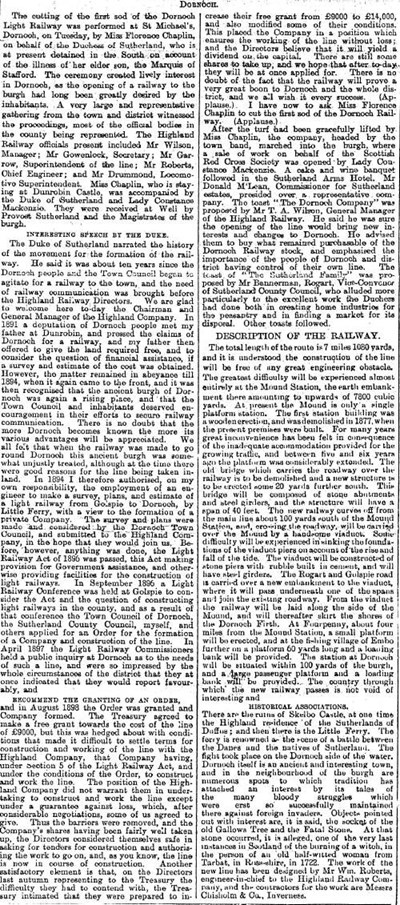
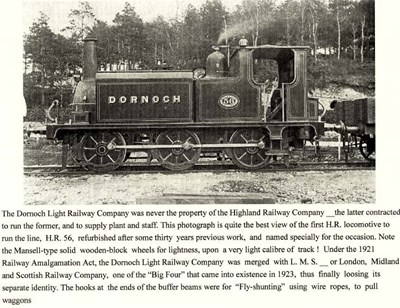 Pic 98: Dornoch Light Railway
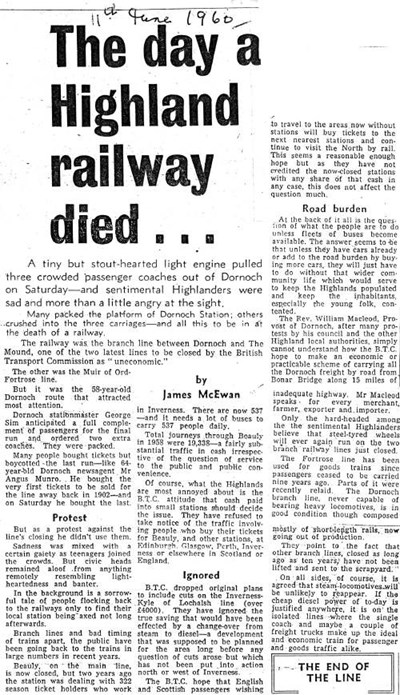
 Pic 99: Dornoch Light Railway
 Pic 100: Dornoch Light Railway
 Pic 101: Dornoch Light Railway
 Pic 102: Dornoch Light Railway
 Pic 103: Dornoch Light Railway
 Pic 104: Dornoch Light Railway
 Pic 105: Dornoch Light Railway
 Pic 106: Dornoch station